

In this blog we explained how a simple python script can be used to stream the color camera with OpenCV Python.
For more advanced features like support for standard UVC controls and Image capture options along with camera streaming, you may refer the following blog: https://www.e-consystems.com/blog/camera/camera-board/interface-high-quality-cameras-with-opencv-python/
Open Computer Vision (OpenCV) is an open source BSD licensed image processing bundle that contains functions for all type of image processing functionality from basic image decoding, enhancement, color space conversion, object detection, object tracking and so on.
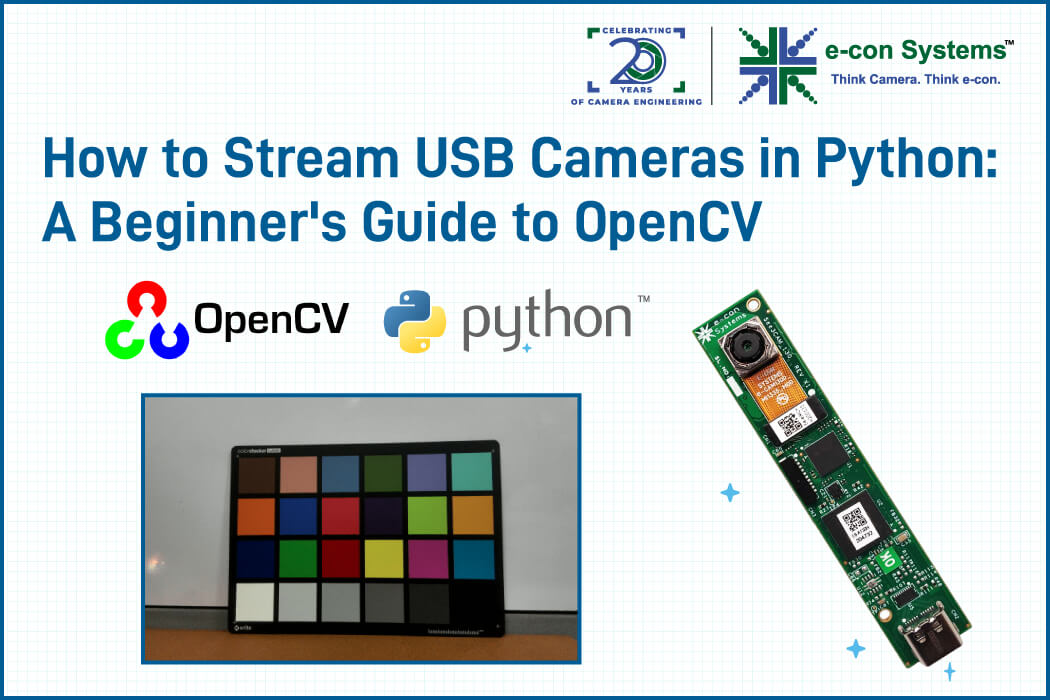
This blog is intended to show how to stream and use the USB cameras for OpenCV by using a simple Python script.
See3CAM Cameras
See3CAM is the USB 3.0 camera series from e-con Systems™. These cameras are UVC-compliant that has Plug & Play support on Windows/Linux which does not require to install additional device drivers manually.
Tested e-con Cameras:
- See3CAM_CU135 – 13MP 4K USB Camera
- See3CAM_130 – 13MP Auto focus USB 3.0 camera
- See3CAM_160 – 16MP (4K) Autofocus USB 3.1 Gen 1 Camera
- See3CAM_CU81 – AR0821 4K HDR USB Camera with 1/1.7″ sensor
- See3CAM_50CUG – 5MP Sony® Pregius IMX264 Global Shutter Color Camera
- See3CAM_CU55 – 5MP Low Noise USB Camera
- See3CAM_CU30 – 3.4 MP Low Light USB Camera
- See3CAM_24CUG – AR0234CS Full HD Color Global Shutter Camera
- See3CAM_CU27 – Full HD Sony® Starvis™ IMX462 Ultra Low Light USB 3.1 Gen 1 Camera
- See3CAM_CU22 – Full HD AR0233 HDR USB Camera with LFM
- See3CAM_CU20 – Wide temperature range USB3 HDR Camera
For this sample application, we are going to use e-con Systems™ 13MP Auto focus USB 3.0 camera – See3CAM_130. We’ll see step by step procedure on how to access the See3CAM_130 camera from a simple OpenCV-Python application, which will grab the frame from camera and display in the preview window.
Let us start from building the OpenCV and its dependencies in Ubuntu PC.
Test System:
Host PC: Ubuntu-18.04 and 20.04 (Linux) and Windows 8 and 10
OpenCV Version: 4.6
Python Version: 3.9
Download OpenCV source
Download the required OpenCV version for Linux from the following command
$ wget https://github.com/opencv/opencv/archive/4.6.zip
Install Dependencies:
OpenCV requires the following dependencies to work with the USB cameras. Install the dependencies from the following commands:
# libav video input/output development libraries

$ sudo apt-get install libavformat-dev libavutil-dev libswscale-dev

# Video4Linux camera development libraries

$ sudo apt-get install libv4l-dev

# OpenGL development libraries (to allow creating graphical windows)

$ sudo apt-get install libglew-dev

# GTK development libraries (to allow creating graphical windows)

$ sudo apt-get install libgtk2.0-dev

# Install the OpenCV python

$ sudo apt-get install python-opencv
Configure and build the OpenCV from source:
After installing the dependencies, now we need to build and install OpenCV using the following commands:
$ unzip opencv-4.6.zip

$ cd opencv-4.6

$ mkdir build && cd build

$ cmake -D CMAKE_BUILD_TYPE=RELEASE -D WITH_TBB=OFF -D BUILD_TBB=OFF -D WITH_V4L=ON -D WITH_LIBV4L=OFF -D BUILD_TESTS=OFF -D BUILD_PERF_TESTS=OFF ..
Compile and install:
The following command will build and install OpenCV libraries in the location – “/usr/local/lib/”
$ sudo make j4 install
We now have built & installed OpenCV in the Ubuntu PC. Let us look how to prepare a sample Python application to stream the camera using OpenCV.
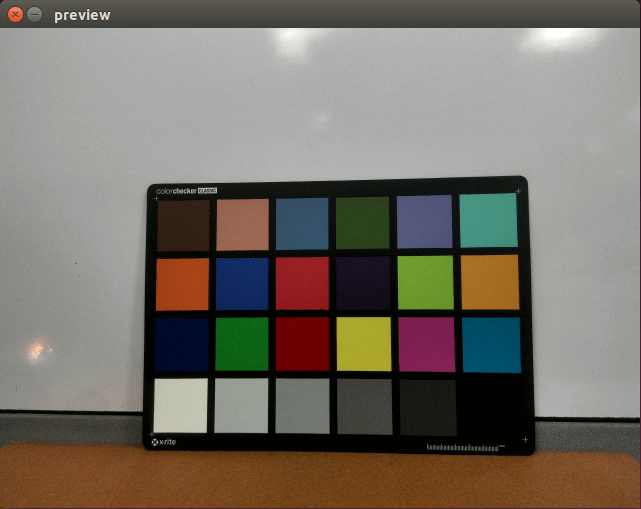
The following sample OpenCV python code explain how to open the device video node, set the resolution, grab the frame and then display the frame in preview window.
- Import the OpenCV python package
import cv2
- Open the camera video node to access the See3CAM_130
# Open the device at the ID 0

cap = cv2.VideoCapture(0)

# Check whether user selected camera is opened successfully.

if not (cap.isOpened()):

print("Could not open video device")
- Set the resolution of the camera by using OpenCV camera control properties
# To set the resolution

cap.set(cv2.cv.CV_CAP_PROP_FRAME_WIDTH, 640)

cap.set(cv2.cv.CV_CAP_PROP_FRAME_HEIGHT, 480)
- Grab the frame continuously from the camera and show it in the preview window using the while loop. Enter ‘q’ key, to break the loop and exit the application
while(True):

# Capture frame-by-frame

ret, frame = cap.read()

# Display the resulting frame

cv2.imshow('preview',frame)

# Waits for a user input to quit the application

if cv2.waitKey(1) & 0xFF == ord('q'):

break
- Release the camera, then close all of the imshow() windows.
# When everything done, release the capture

cap.release()

cv2.destroyAllWindows()
- Save the sample code as “camera_stream.py”.
import cv2

# Open the device at the ID 0

cap = cv2.VideoCapture(0)

# Check whether user selected camera is opened successfully.

if not (cap.isOpened()):

print("Could not open video device")

# To set the resolution

cap.set(cv2.cv.CV_CAP_PROP_FRAME_WIDTH, 640)

cap.set(cv2.cv.CV_CAP_PROP_FRAME_HEIGHT, 480)

while(True):

# Capture frame-by-frame

ret, frame = cap.read()

# Display the resulting frame

cv2.imshow('preview',frame)

# Waits for a user input to quit the application

if cv2.waitKey(1) & 0xFF == ord('q'):

break

# When everything done, release the capture

cap.release()

cv2.destroyAllWindows()
- Now compile and run the program:
python2 camera_stream.py
By using this simple python script, we shall be able to access and use the cameras for OpenCV.

Rathish, Our tech support expert with rich 6+ years of experience. He has been a key person in addressing and solving crucial technical queries with wide range of scenarios related to OEM camera hardware and software.
6 comments
Hey
What do I need to change if I use a monochrome camera?
I guess libv4l2 expects a RGB image.
The image that I am getting is three copies of the original image but all with a cropped width.
In addition I get following error Code:
libv4l2: error set_fmt gave us a different result then try_fmt!
VIDEOIO ERROR: libv4l unable convert to requested pixfmt
libv4l2: error set_fmt gave us a different result then try_fmt!
Could you please follow the below link to create a support ticket so that our dedicated support engineer will assist you further:
https://www.e-consystems.com/create-ticket.asp
In my project the camera is connected to an Arduino through a PC USB port. Do you know how can I find this camera to capture image with it?
Using cap = cv2.VideoCapture(0) zero, the camera found is the webcam.
If you connect any other camera in the same PC, you need to change the video node 1 instead of 0. Please change node 1 in the “cap = cv2.VideoCapture(1)” and test the camera. If you have further queries kindly feel free to write an e-mail to techsupport@e-consystems.com. They will assist you.
If I use opencv like in camera_stream.py to grab an image in while loop. How can I perform hardware trigger? Will it only return a frame when trigger in at “ret” = 1
If you need to perform hardware trigger you need put camaraderie trigger mode condition, in that time the preview will not be available and the camera will be kept in standby waiting for a trigger pulse to start to capture the image. After you need to give the external trigger signal low to high voltage (2.8v) pulse to the external trigger pin of the GPIO Header in the camera.
also, let us know in which our camera you are using to perform the hardware trigger?